
Digitize Handwritten Recipes Without Losing Their Story
Photograph old recipe cards clearly, preserve handwriting and margin notes, flag uncertain measurements, and build a searchable family recipe collection.
By Buttter ·
Saving a digital food video is a quick process, but having a recipe you can follow on a Tuesday night takes deliberate organization. An app like Buttter handles the modern version of this problem by turning social media posts into structured ingredients and numbered steps. A physical family card presents a different challenge entirely. A faded note from a relative might hold a treasured meal, yet a blurred photo, an unclear fraction, or a missed margin note leaves the dish impossible to recreate. You need a reliable way to digitize handwritten recipes so they survive both physical aging and digital clutter.
This process requires creating a visual record of the original card and a separate, readable text version you can search and cook from. Before starting the capture process, gather a smartphone or a flatbed scanner and find a clean, stable surface with bright, indirect light to reduce shadows. Create a single digital folder on your computer or cloud drive to store the paired image and text files. Keep your hands clean and dry, as the oils from your fingers can further degrade old ink and brittle paper.
Old cards frequently carry grease spots, splatters, and pencil marks that smear with handling. Over decades, acidic cardstock turns brittle, meaning rough handling can break the edges. Capturing them requires treating each card as both an artifact and a practical guide. Pairing clean photos with accurate text preserves family recipes digitally while keeping the instructions ready for cooking.
Before You Start, Protect the Original
Your primary goal is preserving the physical card without causing further damage during the capture process. A smartphone camera is often the safest tool for this job because it captures the image from above, avoiding the physical pressure of a machine. A flatbed scanner provides consistent, even lighting and a perfectly flat focal plane, which works well for sturdy cards that sit completely flush against the glass.
However, a scanner lid can crush or crease paper that does not fit on the scanning surface, as the U.S. National Archives warns. It also says automatic-feed scanners are unsuitable for fragile, weak, bent, or valuable papers because papers can jam and become torn in them.
Paper fibers dry out with age, causing cards kept in humid kitchens to warp or curl. Forcing a curved card under heavy scanner glass can snap the paper along existing creases. Inspect fasteners for rust as well, because rusted metal bonds to paper fibers and tears ink when pulled. Gentle handling keeps the paper intact, so set up your workspace on a clean table near indirect daylight.
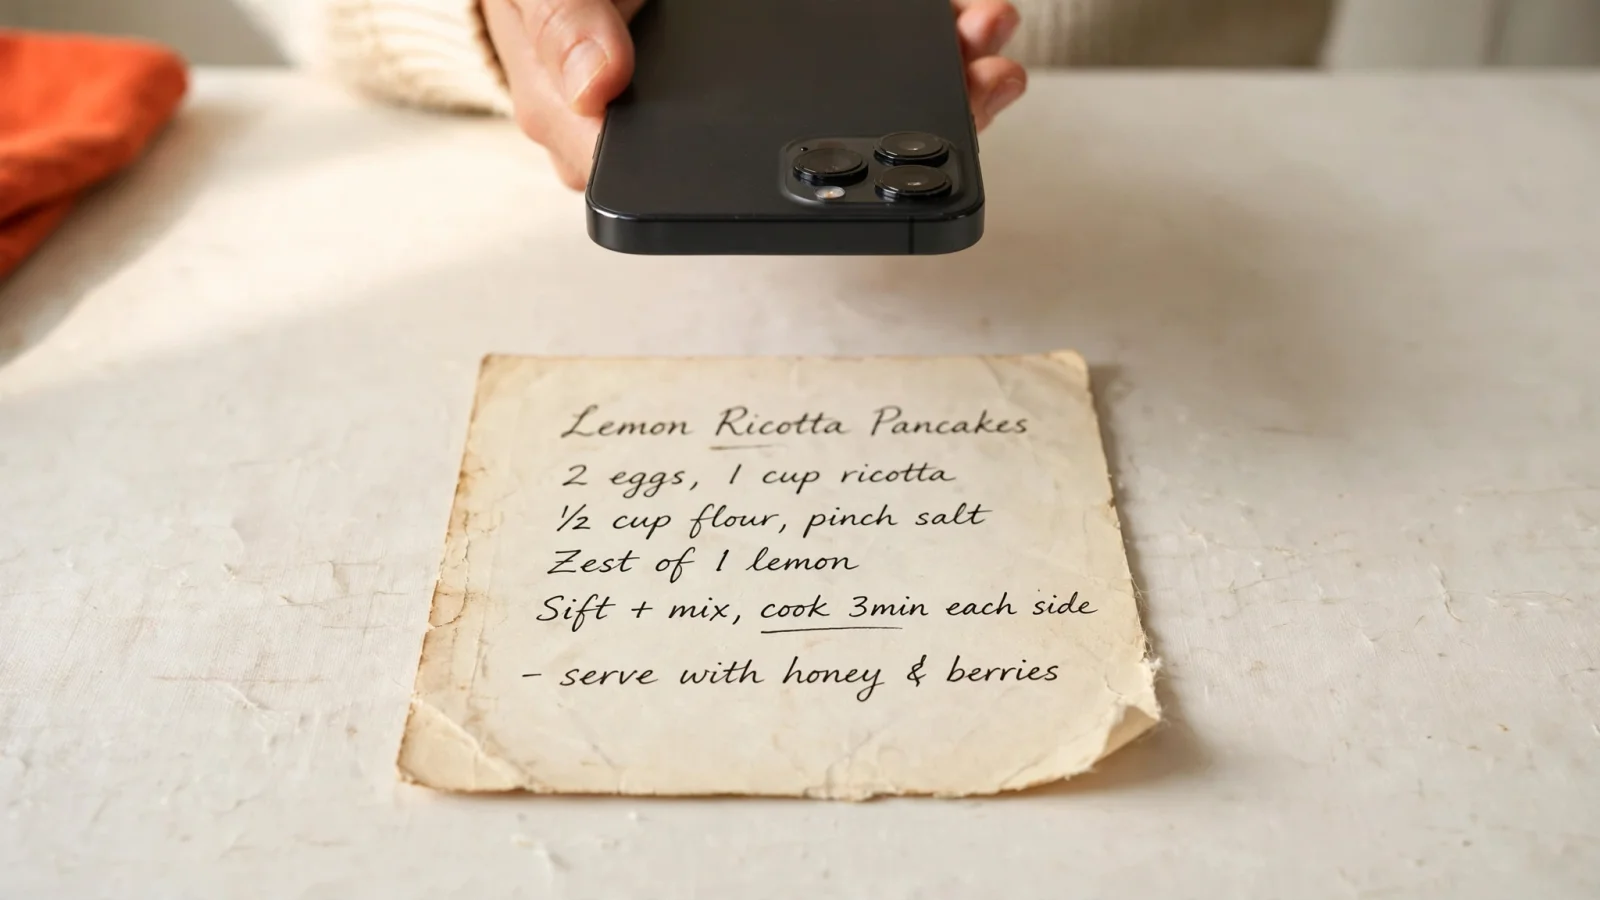
Step 1: Capture the Whole Card Clearly
Place the card on a clean, neutral background, positioning your camera directly above and parallel to the surface to prevent perspective distortion, which can make the top edge look wider than the bottom and blur the outer corners. Angle the lens slightly if necessary so the phone itself does not cast a shadow over the faded ink. Fill the frame with the document while keeping a small margin of the table visible around all four sides, which proves no text was accidentally cropped out of the frame.
Tap the screen to lock focus on the smallest, most faded line of handwriting. Take the photo, then immediately flip the card over to photograph the back of the document if it contains any writing, stains, or a continuation of the instructions. Even a seemingly blank back can hold faint pencil marks that reveal cooking times or alternate ingredient measurements.
Review the image before moving the physical card. The University of Wisconsin says photographed documents should be relatively straight, evenly lit, and well-focused so they remain readable. Check the image against those criteria, and retake it if it is blurred or unevenly lit.
If the image is otherwise clear but faint pencil writing looks washed out, lower the phone exposure slightly to sharpen contrast before shooting.
Step 2: Transcribe What the Card Says
Open a blank digital document and type exactly what the handwriting says. This text file becomes your source layer. Retain the original spelling, strange abbreviations, and specific sequence of ingredients. If the author wrote "oleo" instead of margarine, type "oleo", and if they spelled vanilla incorrectly, preserve the misspelling in this initial transcript. Record insertions and margin notes in a logical place nearby rather than silently blending them into the main paragraph.
Keep this text transcript permanently linked to the image file so a reader can always check the typed interpretation against the original handwriting. When you encounter faded pencil marks or spilled vanilla extract that obscures a measurement, do not guess the missing value. Use a consistent marker to flag the uncertainty in the text.
You might type a question mark inside brackets for a completely unreadable word, or use a simple note like "1/2? cup" for a tentative guess where the ink is smudged. This deliberate marking ensures the uncertainty remains visible to anyone reading the file. Correcting grammar or modernizing the instructions during this transcription phase obscures the historical record. The goal of this step is to record the exact contents of the paper, flaws and all.
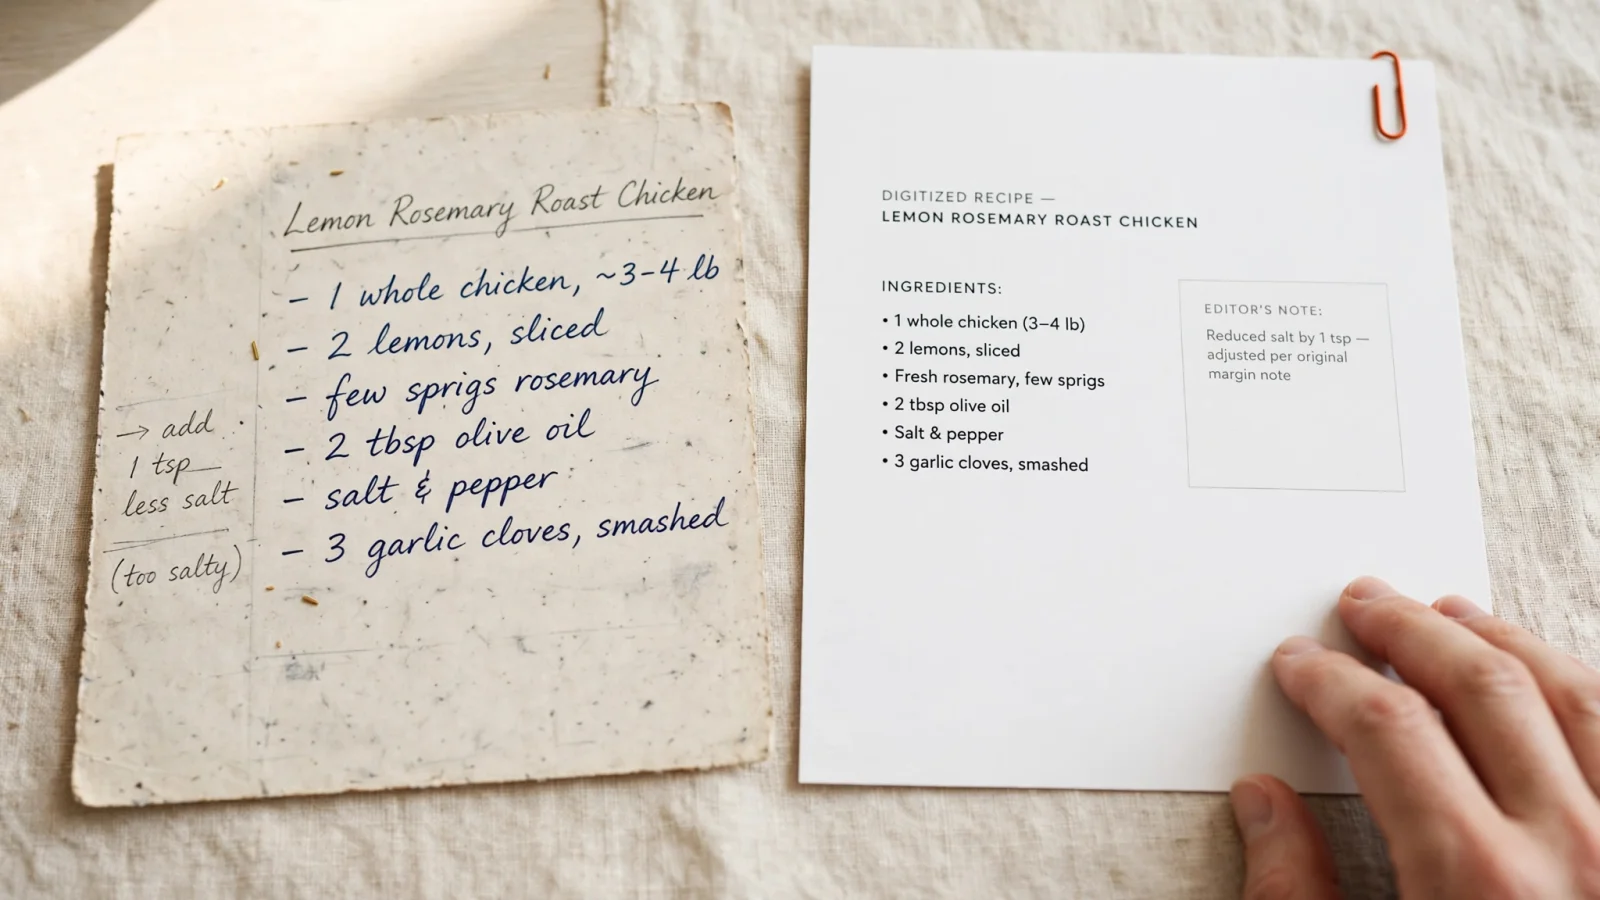
This practice mirrors professional archival standards. The Smithsonian Transcription Center advises transcribing text as it appears, not correcting spelling or grammar, and capturing annotations in a logical place. Its guide uses [[?]] for text that cannot be read and [[word?]] for a tentative reading. Personal records can use markers like 1/2? cup or unclear: 1/2 or 1/4 cup to ensure doubts stay visible. Retain historical terms like Spry or sweet milk, and note strikethroughs with brackets, such as [struck: 1 cup] 3/4 cup sugar, to record how the dish changed.
Step 3: Make a Cookable Version Without Guessing
While the source layer preserves family history, the recipe layer tells you how to make dinner. Create a new section below your literal transcript for the structured recipe featuring a clean title, a structured ingredient list, and numbered instructions. When you make a digital cookbook for daily use, these structured fields allow you to read the steps quickly while standing over a hot stove.
Record an amount or unit only when the original transcript confirms it clearly. Leave the yield, prep time, or oven temperature blank if the original author omitted them. Many older recipes rely on assumed knowledge, calling for a "moderate oven" or instructing the cook to "bake until done". Do not invent a modern bake time of 35 minutes at 350 degrees to fill out the digital form.
If a handwritten quantity could be 1/2 or 1/4 cup, leave the structured amount completely blank or mark it as unresolved. Do not guess the more plausible value, because cooking from an incorrect measurement often leads to ruined baking projects. Keep the specific family wording and quirky annotations in a dedicated note field at the bottom of the structured recipe.
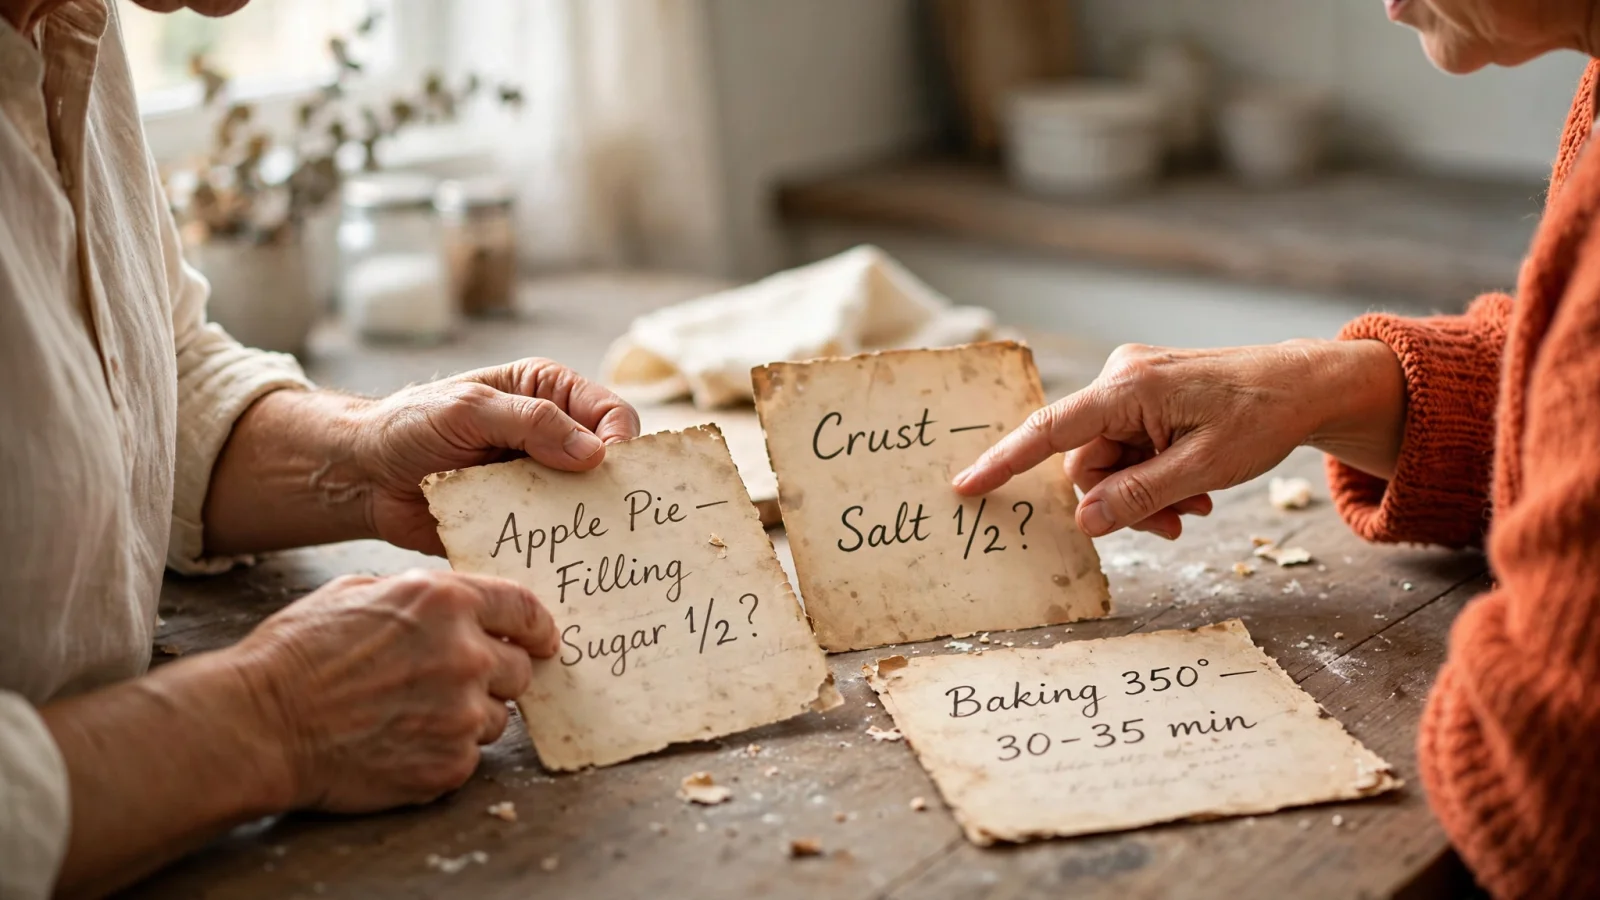
Handling severe ambiguity takes patience. Compare similar letters across other cards written by the same relative, noting how they looped capital letters or crossed numbers, because a cursive "T" for tablespoon often looks identical to a lowercase "t" for teaspoon unless you see it in the context of their other handwriting. Ask other family members if they remember the dish or recognize the specific shorthand, and keep any modernized clarifications entirely separate from the original source reading.
Baking measurements require caution because chemical balances dictate texture and rise. Guessing between a teaspoon and a tablespoon of baking powder or salt will ruin a dish. When an amount cannot be resolved, note the ambiguity in an editorial comment below the recipe rather than guessing in the ingredient field. You might write: Baking powder: unresolved (unclear: 1/2 tsp or 1 tsp; test batch needed).
Step 4: Organize and Back Up the Collection
A folder full of images named "IMG_4092" offers little practical use. Pair the front image, the back image, the literal transcript, and the structured recipe record using predictable file names. Use a consistent naming structure like "family-lemon-cake-front" and "family-lemon-cake-back". This naming convention ensures the visual files always sort next to their matching text documents in your computer's file browser.
Add metadata tags that you will remember to search for months later. Include the common dish name, the main ingredient, the family member who wrote it, and any specific holiday occasion associated with the meal. Organizing a comfort food classics collection requires a stable, long-term home for the data.
The U.S. National Archives recommends adding basic "Who, What, Where, and When" metadata to digitized files so they remain identifiable. For a recipe card, record who wrote it, what dish it describes, where it originated, and when it was written. The Archives also advises keeping original papers after scanning, so keep the cards as well as the digital files.
Apply a 3-2-1 backup approach for these historical files. Keep three total copies of the data, spread across two different types of media, with one copy stored entirely off-site. You might keep one copy on your laptop, one on an external hard drive, and one in a secure cloud storage account. Retain the physical paper cards safely in a dry, dark box, as the digital files serve as functional copies rather than permanent replacements for the physical heirlooms.
For your modern meal planning, an app like Buttter complements this historical archiving process. While preserving family cards requires manual transcription, the rest of your cooking inspiration likely comes from the internet. Buttter is designed for iPhone and iPad users who need to save social media recipes quickly. It turns supported recipe posts and videos, including clips without a written recipe, into structured ingredients with quantities and numbered steps.
The app also generates dishes from typed ingredients or a photo of your fridge, matching the results to your dietary preferences. It automatically shows estimated nutrition, scales quantities when servings change, provides a step-by-step cook mode, and sends ingredients directly to Apple Reminders, Things 3, or Todoist. Its searchable personal cookbooks support recipe photos and screenshots, bringing your digital finds into the same organized space as your modern cooking routines. The app is free to download, with some AI features requiring an optional subscription.
Note that Buttter focuses on supported social recipes, video extraction, and ingredient-based meal ideas rather than handwriting recognition for handwritten cards. Keep your card transcription app-agnostic, using standard folders and text documents. Once you have a clean text transcript, you can organize legacy family dishes right alongside your modern online recipe bookmarks.
Step 5: Check That You Can Find and Use It
Close the project by testing your newly created files. Open the digital folder and confirm that the front and back photos remain associated with the correct text document. Enlarge the smallest written fraction on your screen to verify the image clarity one last time, and read through the structured recipe layer to ensure no unverified guesses slipped into the ingredient amounts.
Test the collection by typing a common ingredient into your computer's search bar. If you want to find recipes by ingredient later, the text files must contain the correct terminology. A photograph alone preserves the visual artifact, but the text transcript and the structured metadata make the meal accessible.
Review the common failure points before moving on to the next index card. Check that no edges are cropped, no backs are missing, and no unreadable text is treated as an established fact. If a search fails to pull up a recipe you know contains a specific ingredient, open the text file and check your spelling. A misspelled original word can make a text search harder, so add the standard ingredient name to the structured recipe layer or metadata.
Test queries with both standard ingredients and casual dish nicknames. Many family heirlooms carry eccentric titles like "Company Casserole" or "Sunday Rolls" that do not describe their contents. Adding keywords like "yeast", "pecans", or "cheddar" to your metadata ensures these cards appear in text searches. After confirming your search results, take the cookable record into the kitchen for a trial run, noting modern oven temperatures or bake times in your notes field as you cook.
Stop losing your modern dinner ideas to endless digital bookmarks. Download Buttter for iPhone and iPad to turn your favorite social media food videos and fridge ingredients into structured, cookable recipes.
